Honey Bread Without a Stand Mixer
无厨师机蜂蜜面包wú chú shī jī fēng mì miàn bāo
- Time
- 3 h
- Difficulty
- Very Hard
- Calories
- 176 kcal
- Yield
- 12 servings
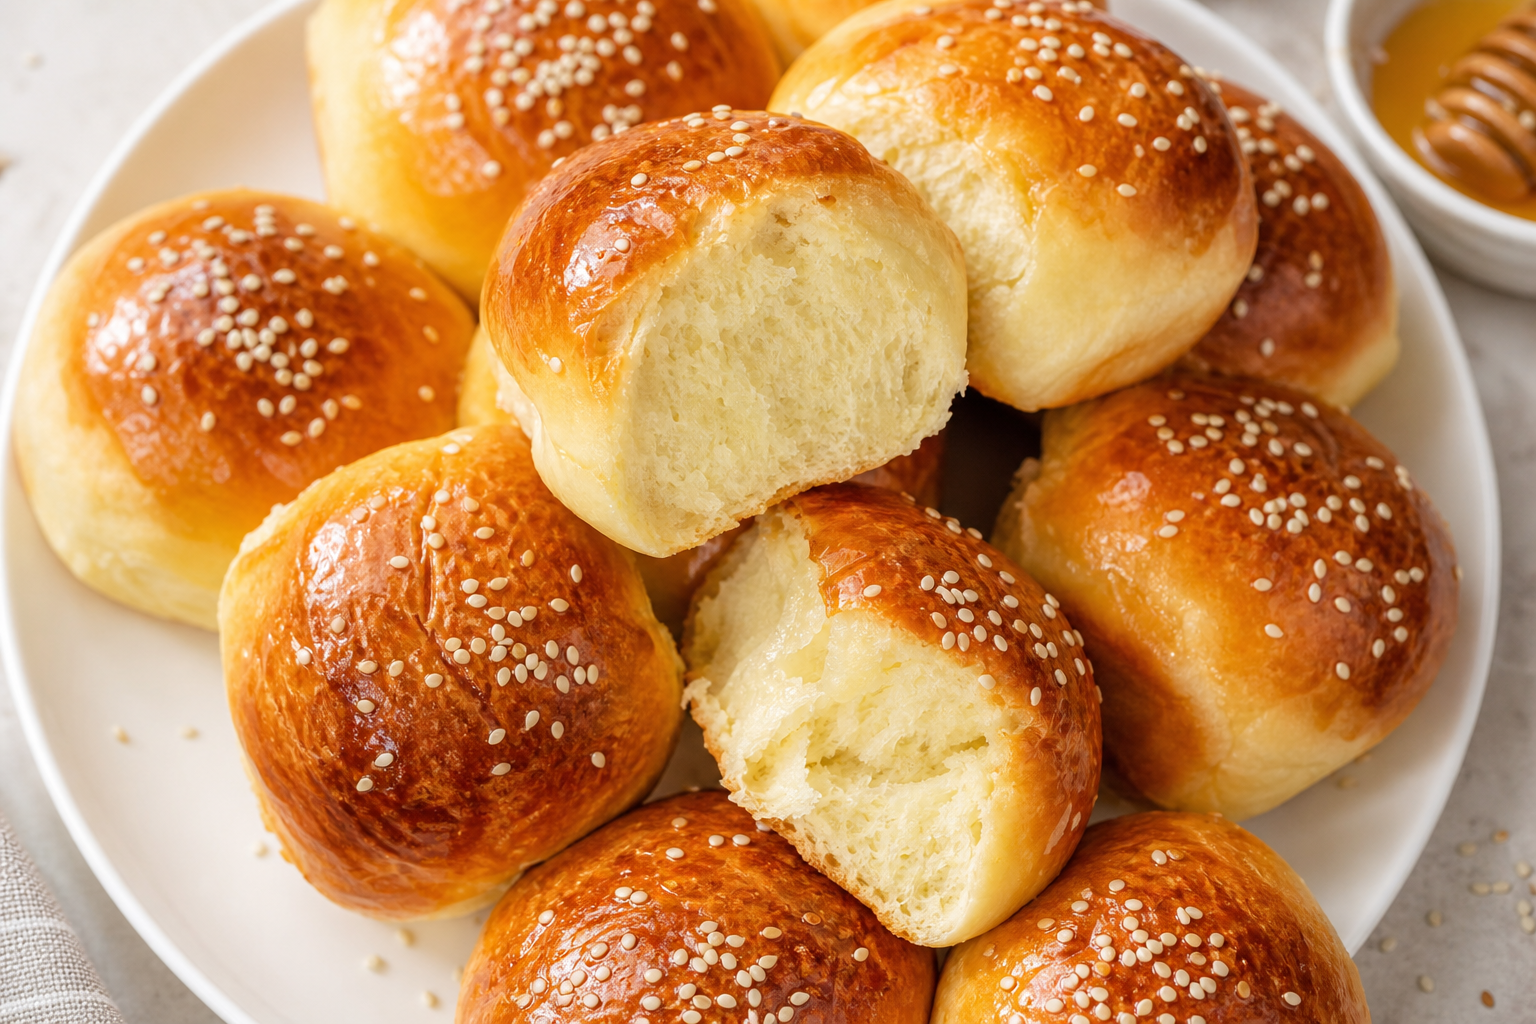
This is a homemade honey bread that requires no stand mixer. It is soft, sweet, and slightly crispy at the bottom, with a honey glaze and sesame seeds on top for a simple, comforting sweetness. The main ingredients are bread flour, milk, egg, and butter, providing ample carbohydrates, protein, and calcium, making it a reassuring choice for breakfast or a snack. The method is simple, with all kneading done by hand. The proofing time is flexible, and you can even refrigerate the dough overnight and bake it the next day, making it very beginner-friendly. The total time is about 3 hours, most of which is waiting for the dough to rise, so the actual hands-on work is not strenuous.这是一款无需厨师机的家常蜂蜜小面包,松软香甜,底部略带脆感,表面刷满蜂蜜水再撒上芝麻,透着朴实的甜香。主要用料为高筋面粉、牛奶、鸡蛋和黄油,提供充足的碳水化合物、蛋白质和钙质,作为早餐或加餐都很安心。做法简单,全程手揉,发酵时间灵活,甚至可以提前一晚放入冰箱冷藏,第二天再烘烤,对新手相当友好。制作耗时大约 3 小时,其中大部分是发面等待时间,实际动手并不费力。
At a glance
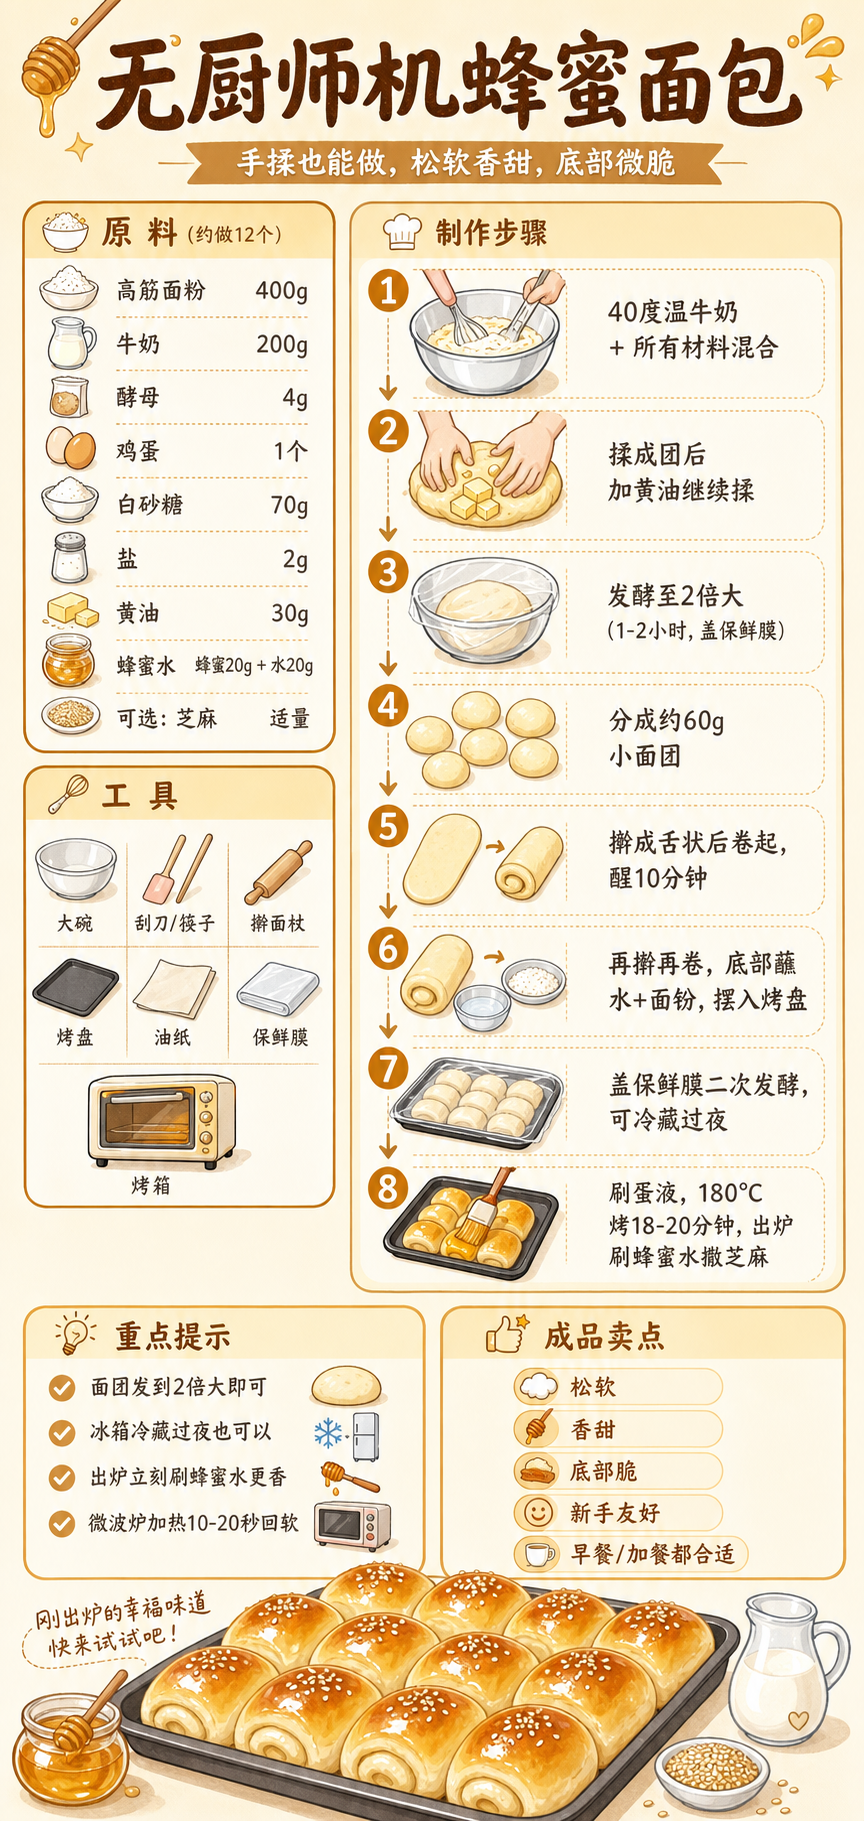
Every ingredient and step on one sheet — worth pinning before you start.
Method15 steps
- 1
Mix the Ingredients
混合原料
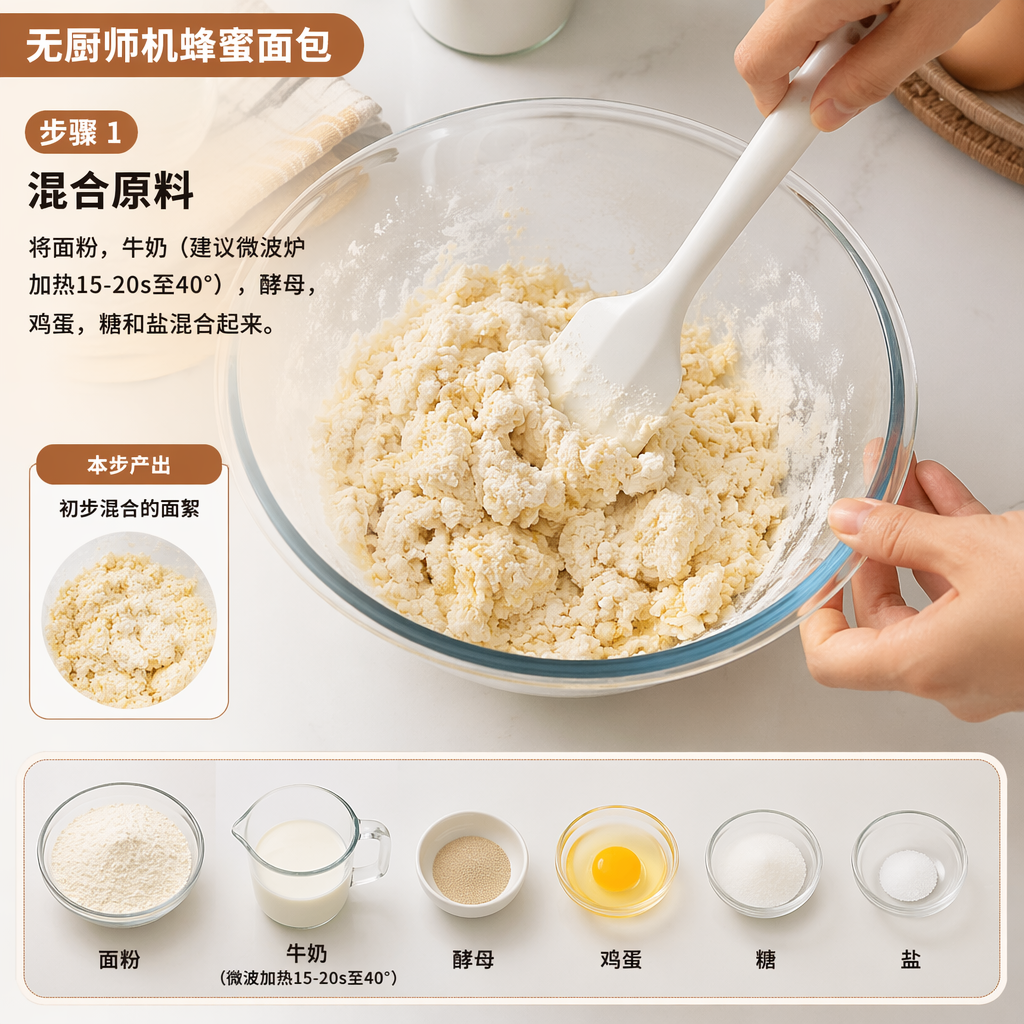
Combine the flour, milk (heat in the microwave for 15-20 seconds to about 40°C), yeast, egg, granulated sugar, and salt.
将面粉,牛奶(建议微波炉加热15-20s至40°),酵母,鸡蛋,糖和盐混合起来。
5 min
- Do not make the milk too hot, or it may kill the yeast.牛奶温度不要过高,以免烫死酵母
- 2
Knead Into a Dough
揉捏成团
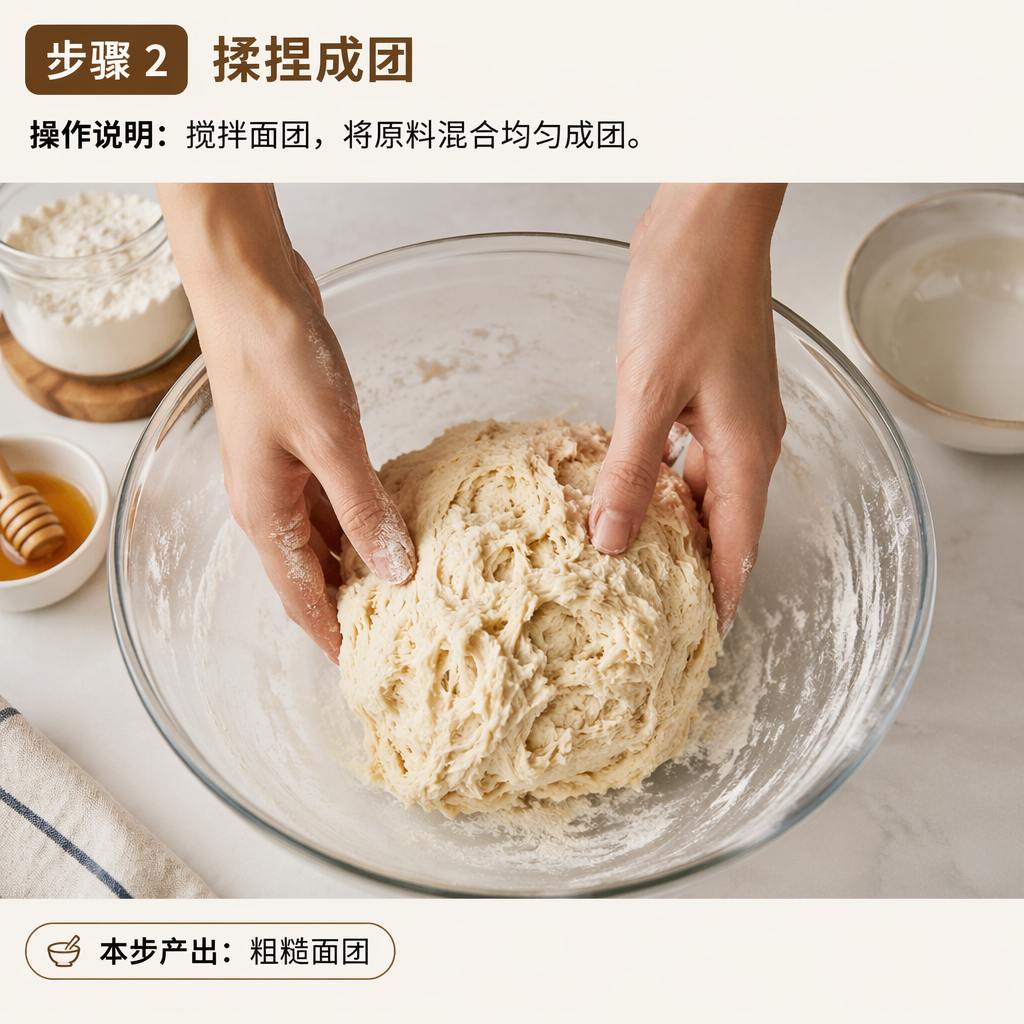
Stir the dough until the ingredients are evenly combined into a ball.
搅拌面团,将原料混合均匀成团。
3 min
- The dough may be quite sticky at this stage.此时面团可能较粘
- 3
Add the Butter
加入黄油
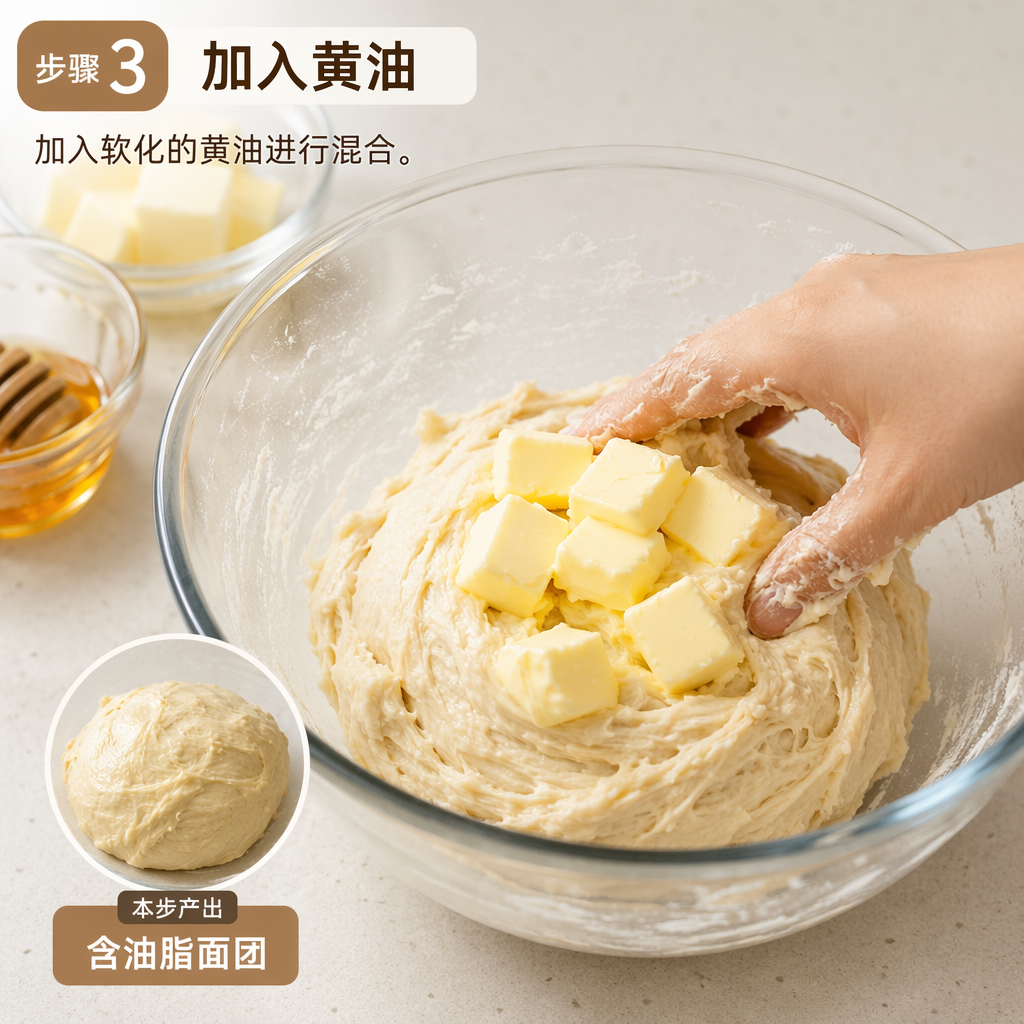
Add the softened butter and mix it in.
加入软化的黄油进行混合。
2 min
- Knead the butter fully into the dough.黄油充分揉入面团中
- 4
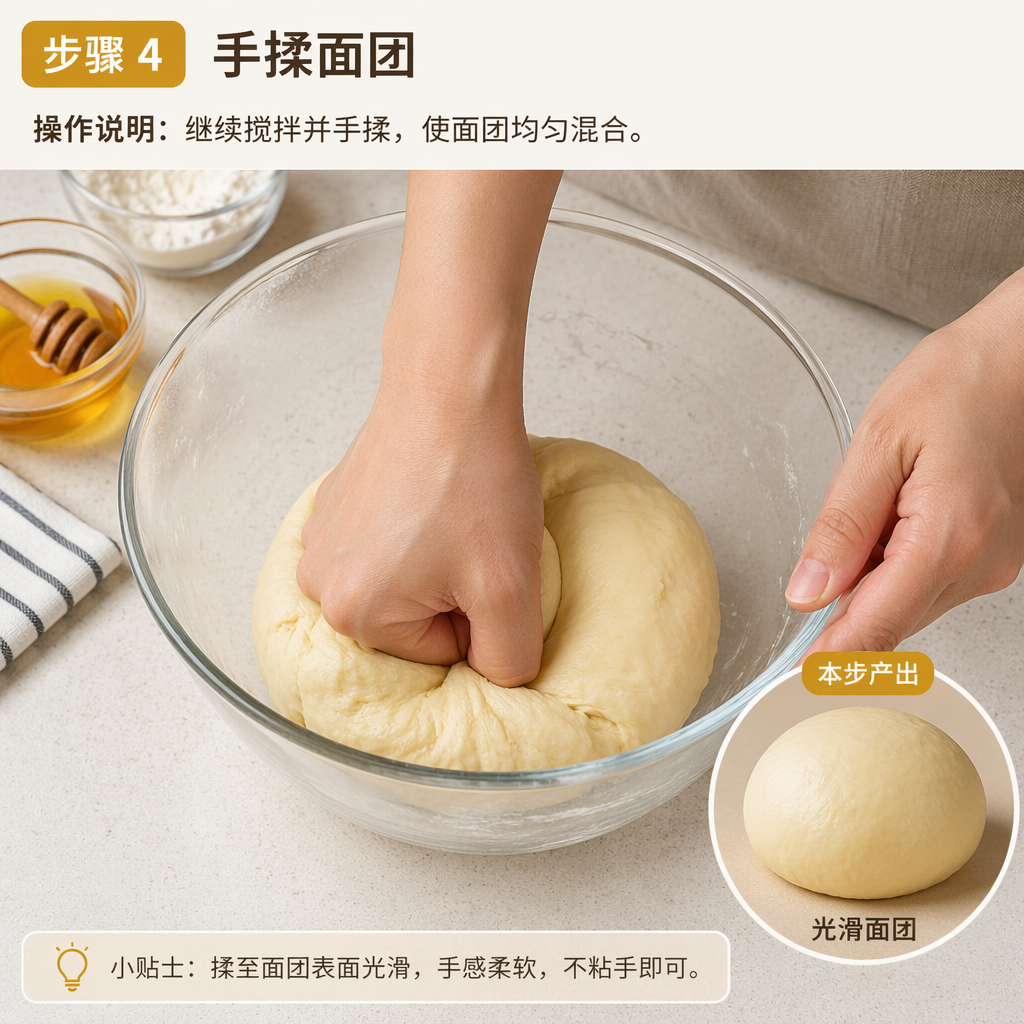
Knead the Dough by Hand
手揉面团
Continue stirring and kneading by hand until the dough is evenly mixed.
继续搅拌并手揉,使面团均匀混合。
10 min
- Knead by hand until the dough surface is relatively smooth.手揉至面团表面相对光滑
- 5
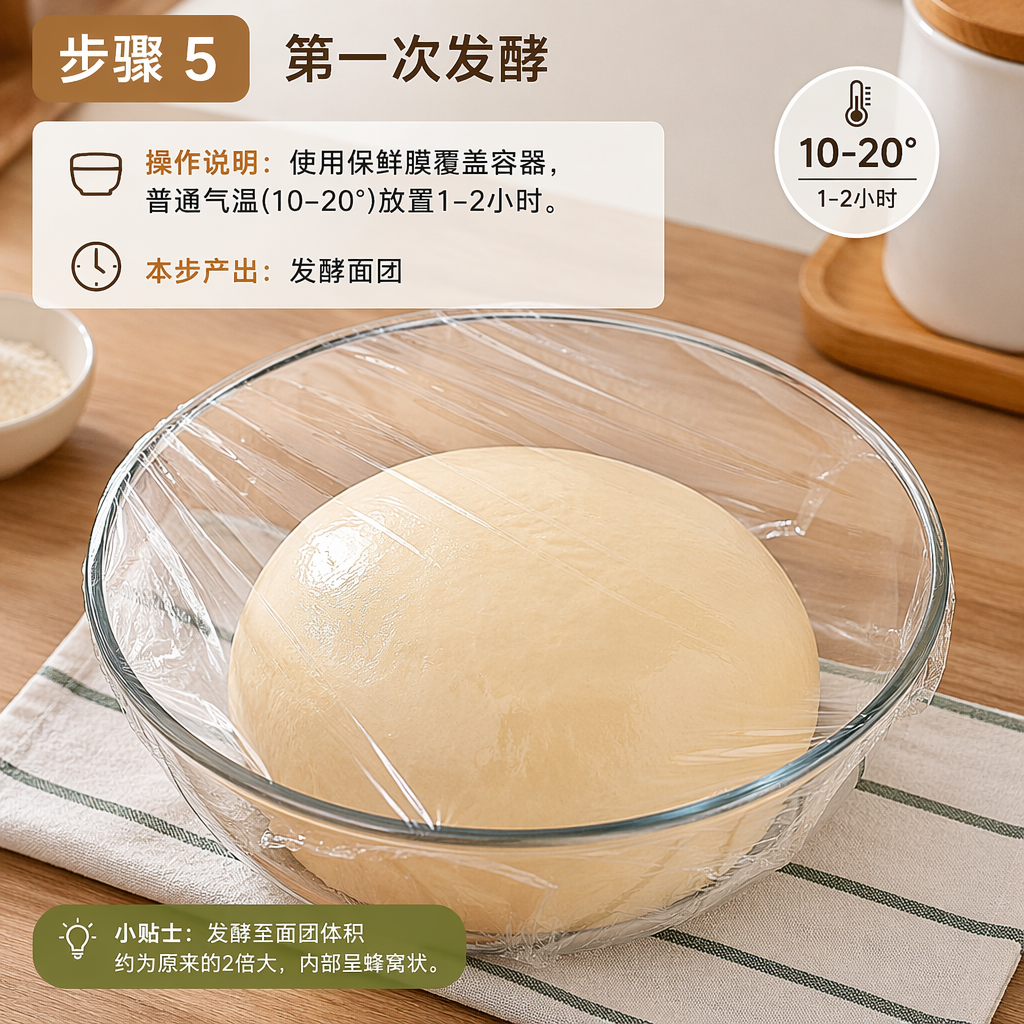
First Proof
第一次发酵
Cover the container with cling film and let it rest at room temperature (10-20°C) for 1-2 hours.
使用保鲜膜覆盖容器,普通气温(10-20°)放置1-2小时。
60 min
- A slightly longer time will not significantly affect the result.稍长时间对效果影响不大
- 6
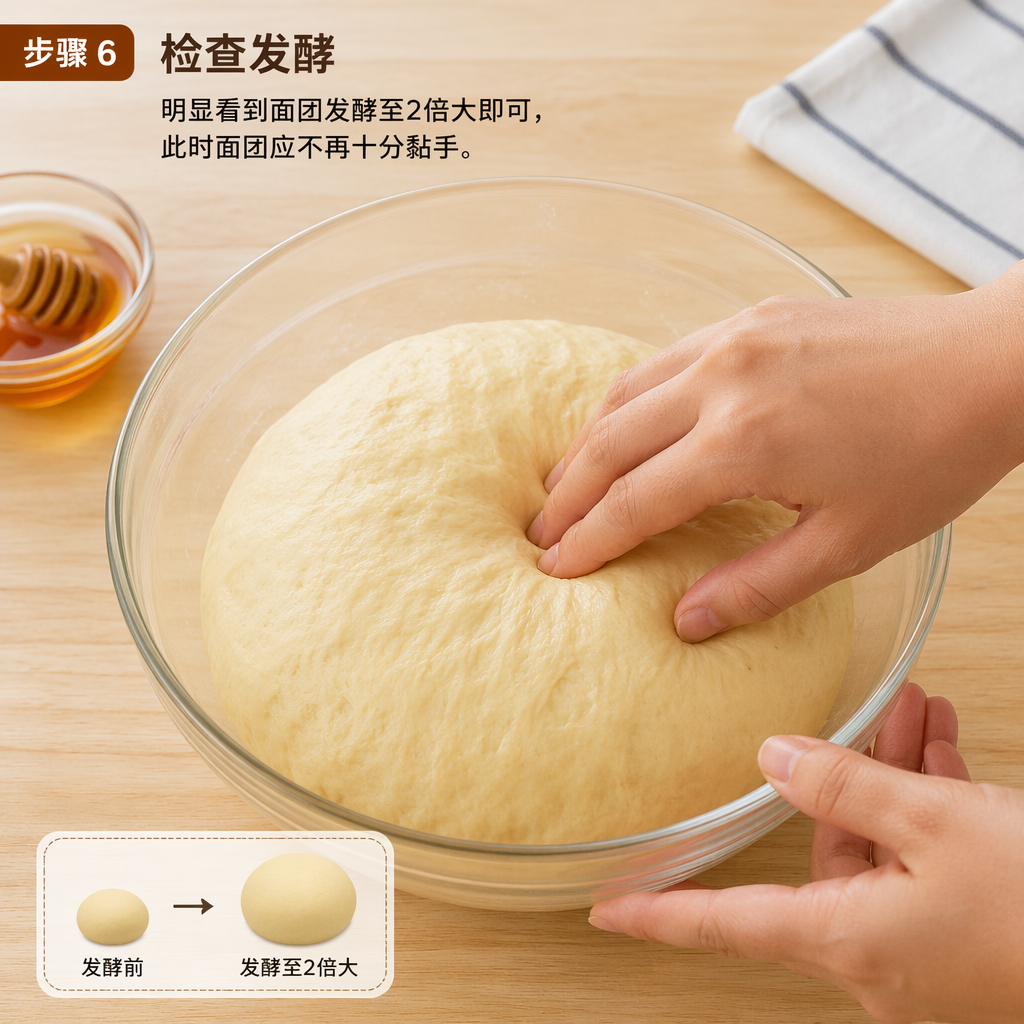
Check the Proof
检查发酵
The dough is ready when it has visibly risen to twice its size and is no longer very sticky to the touch.
明显看到面团发酵至2倍大即可,此时面团应不再十分黏手。
1 min
- You can test by poking a hole with a flour-dusted finger; if it does not spring back, it is ready.可以用手指沾面粉戳洞不回缩来判断
- 7
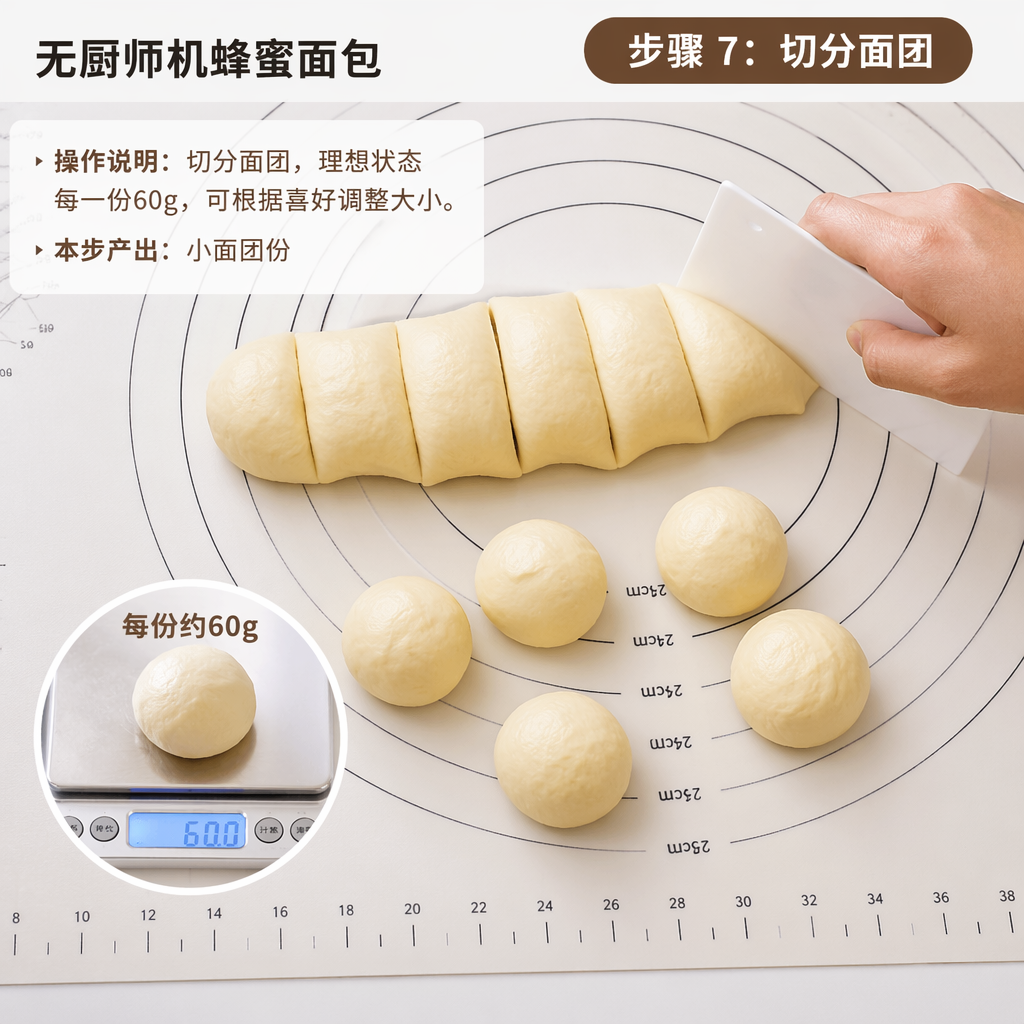
Divide the Dough
切分面团
Divide the dough into portions of about 60g each; adjust the size to your preference.
切分面团,理想状态每一份60g,可根据喜好调整大小。
5 min
- Using a digital scale will give more uniform results.使用电子秤称量更美观
- 8
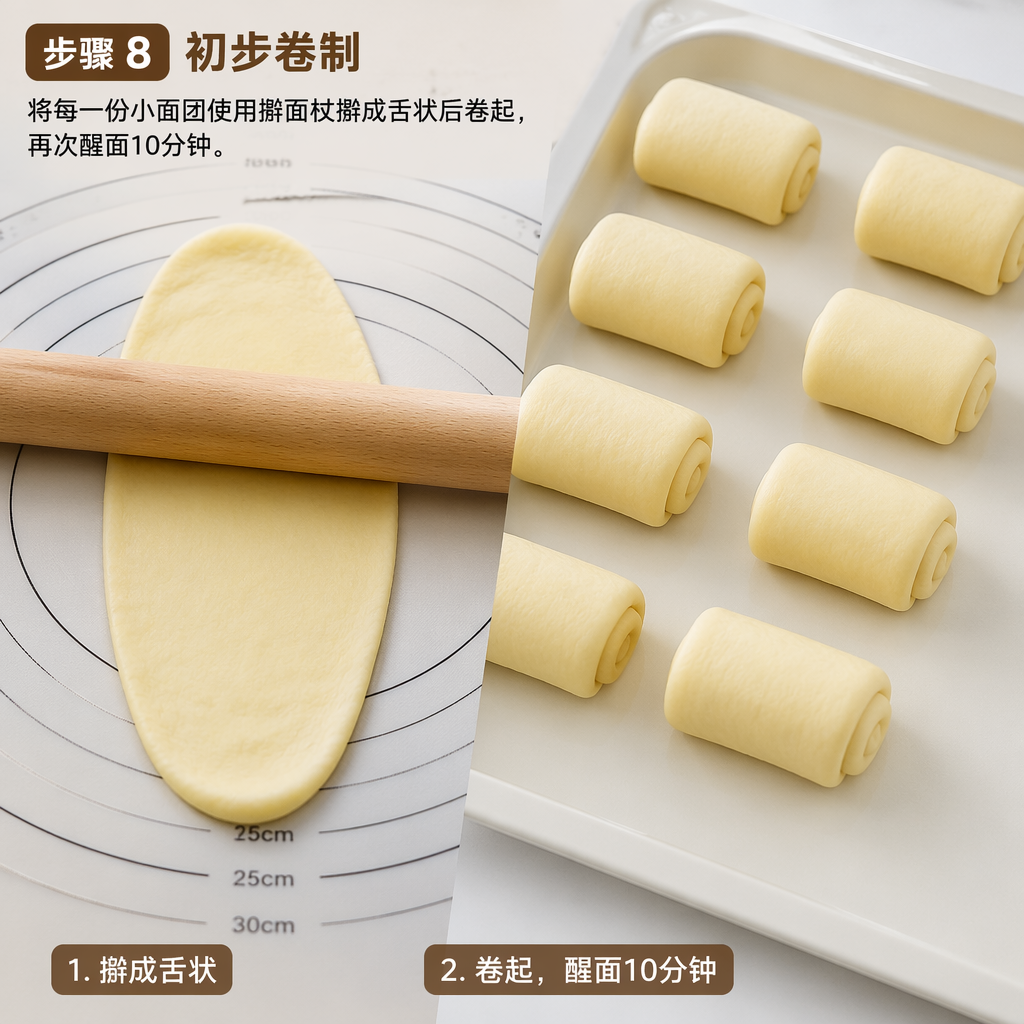
First Roll and Shape
初步卷制
Roll each small piece of dough into a tongue shape with a rolling pin, then roll it up. Let it rest for 10 minutes.
将每一份小面团使用擀面杖擀成舌状后卷起,再次醒面10分钟。
10 min
- Resting helps relax the gluten, making the next rolling easier.醒面有助于松弛筋性,方便后续擀制
- 9
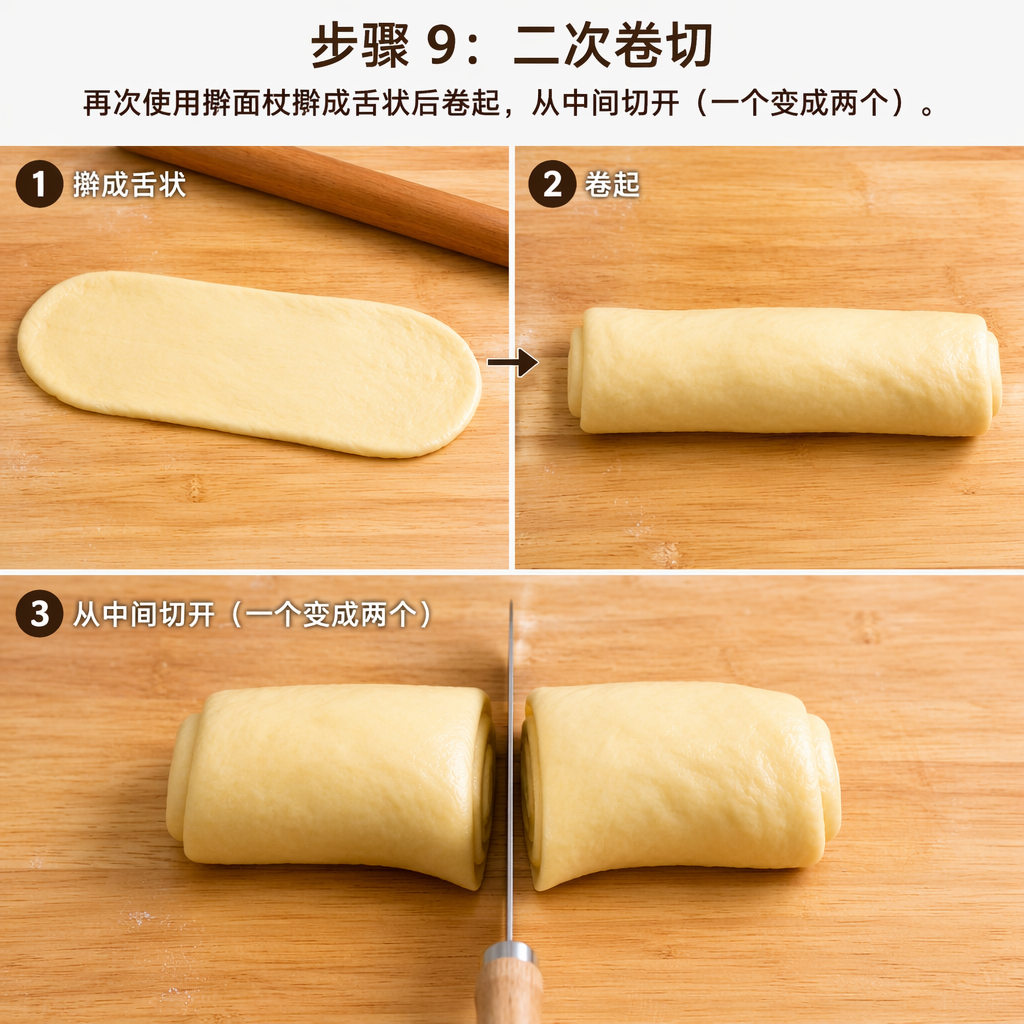
Second Roll and Cut
二次卷切
Roll into a tongue shape again with the rolling pin, roll it up, and cut it in half (one becomes two).
再次使用擀面杖擀成舌状后卷起,从中间切开(一个变成两个)。
5 min
- The cut surface will be dipped in flour later.切口处即为后续蘸粉处
- 10
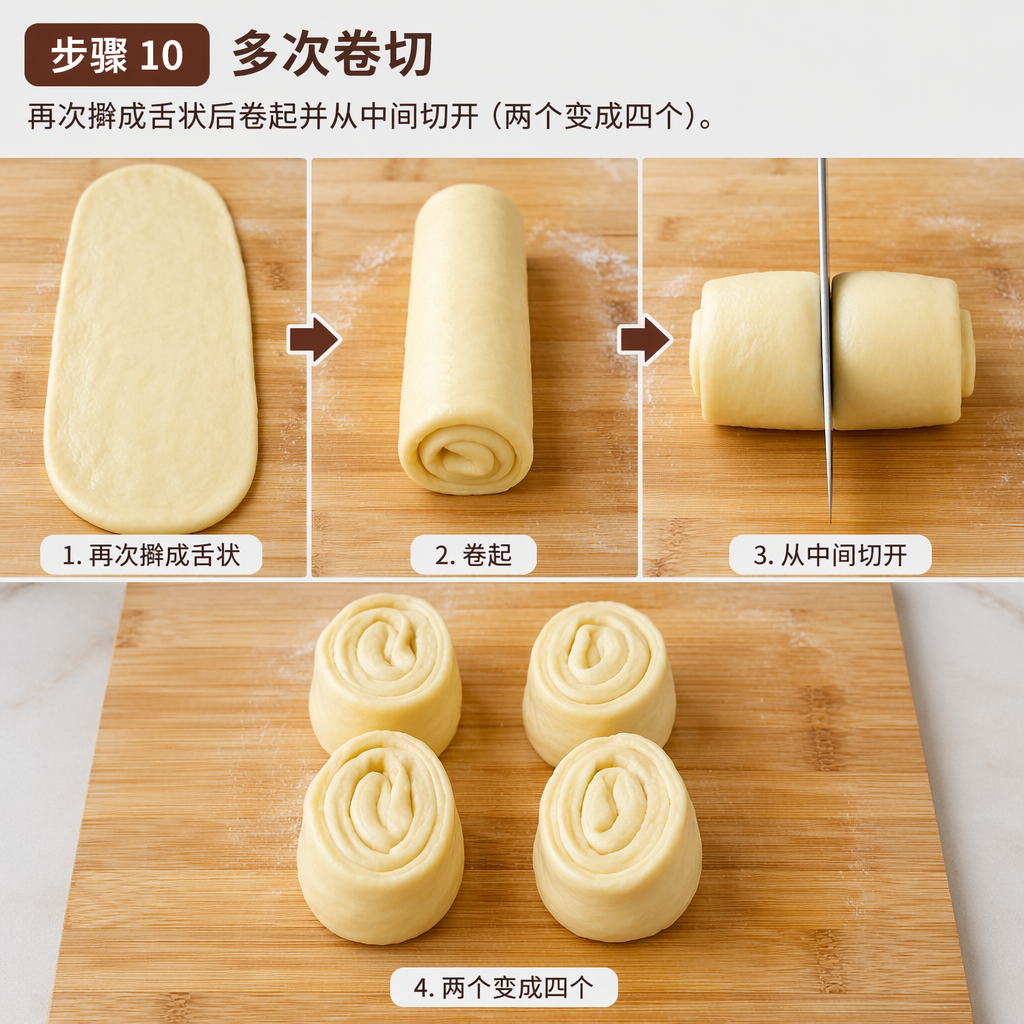
Third Roll and Cut
多次卷切
Roll into a tongue shape again, roll it up, and cut it in half (two become four).
再次擀成舌状后卷起并从中间切开(两个变成四个)。
5 min
- You can roll and cut a few more times if you have the time.可以按照自己的时间多擀/卷几次
- 11
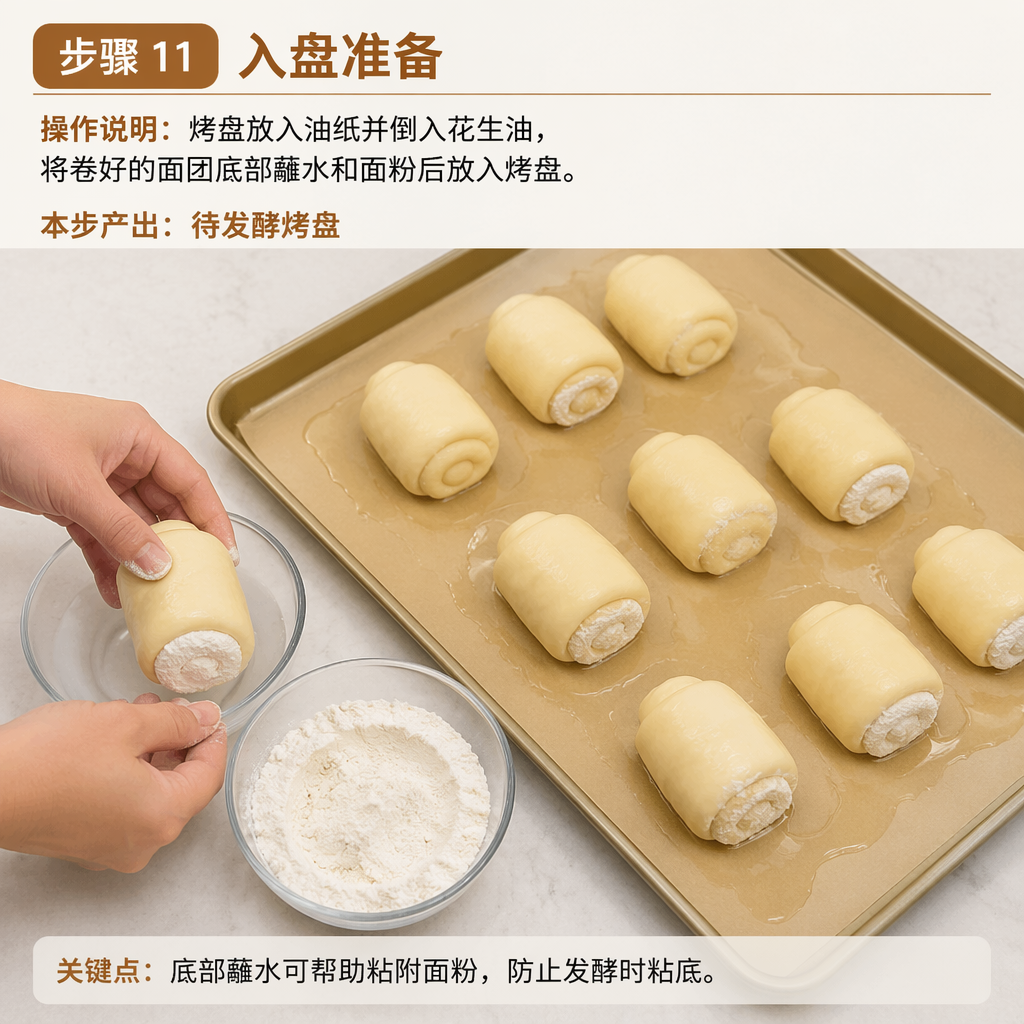
Prepare the Pan
入盘准备
Line the baking pan with greaseproof paper and pour in peanut oil. Dip the bottom of each rolled dough piece in water and flour, then place them in the pan.
烤盘放入油纸并倒入花生油,将卷好的面团底部蘸水和面粉后放入烤盘。
5 min
- Dipping the bottom in oil and flour is key to creating a crispy base.底部蘸油和粉是形成脆底的关键
- 12
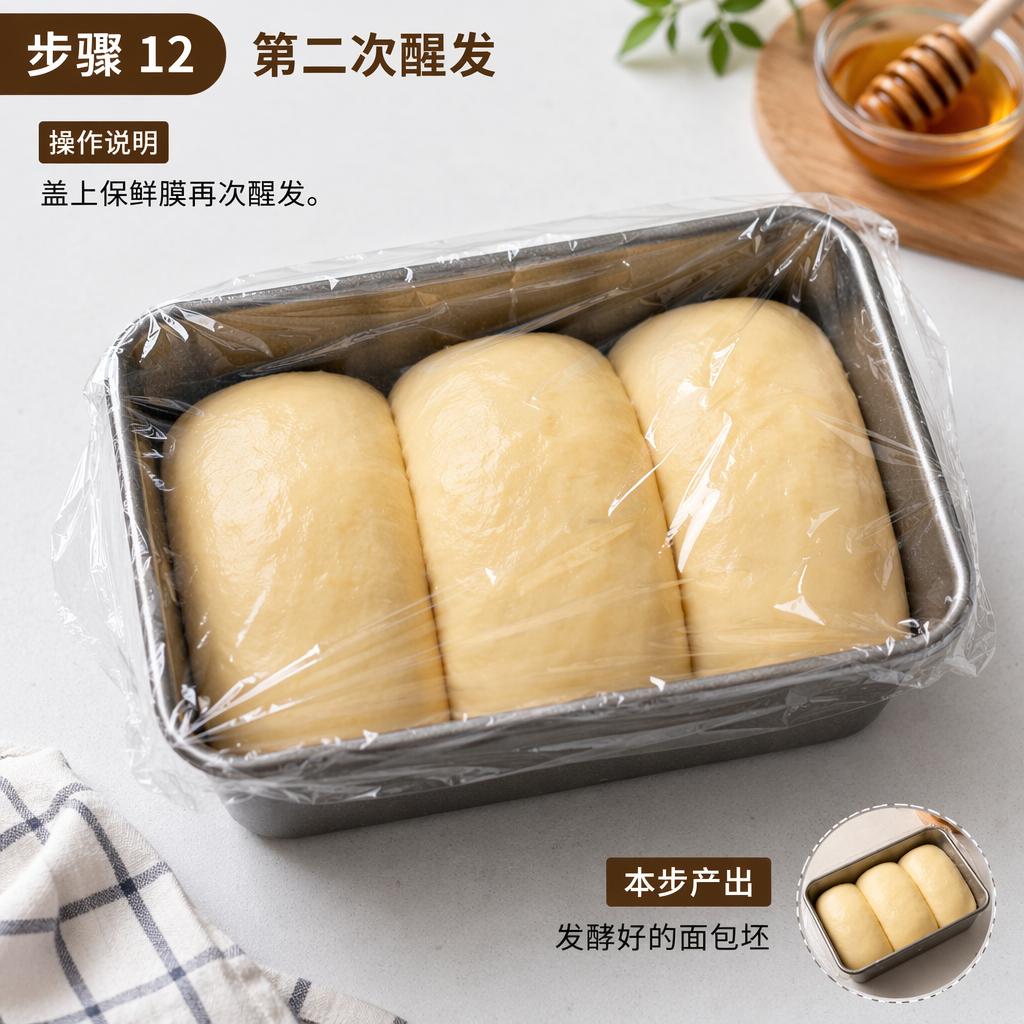
Second Proof
第二次醒发
Cover with cling film and let it proof again.
盖上保鲜膜再次醒发。
30 min
- You can refrigerate at this stage and bake the next day.这一步可以放入冰箱,第二天再烤
- 13
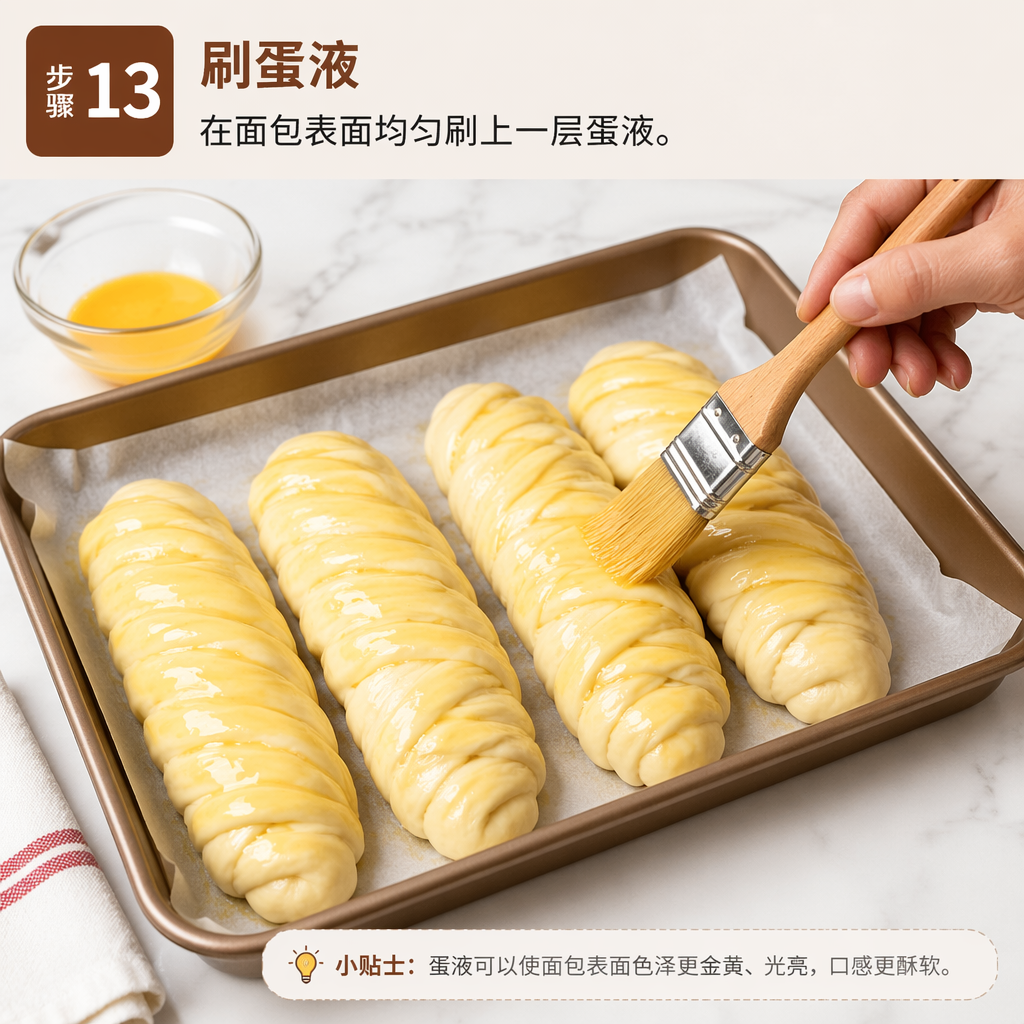
Brush with Beaten Eggs
刷蛋液
Brush a layer of beaten eggs evenly over the surface of the bread.
在面包表面均匀刷上一层蛋液。
2 min
- The beaten eggs give the finished product a golden, appetizing color.蛋液能让成品颜色金黄诱人
- 14
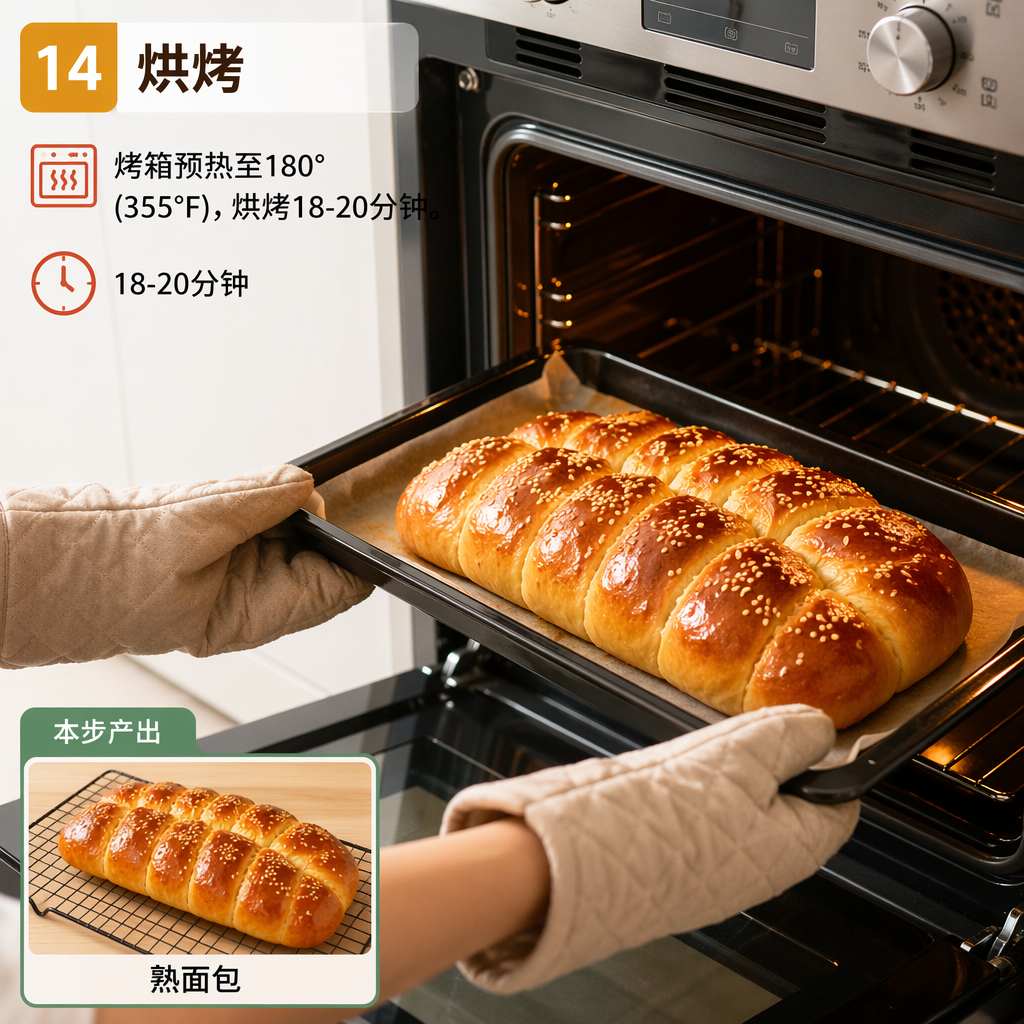
Bake
烘烤
Preheat the oven to 180°C (355°F) and bake for 18-20 minutes.
烤箱预热至180°(355°F),烘烤18-20分钟。
18 min
- Watch the browning closely to prevent burning.注意观察上色情况,防止烤焦
- 15
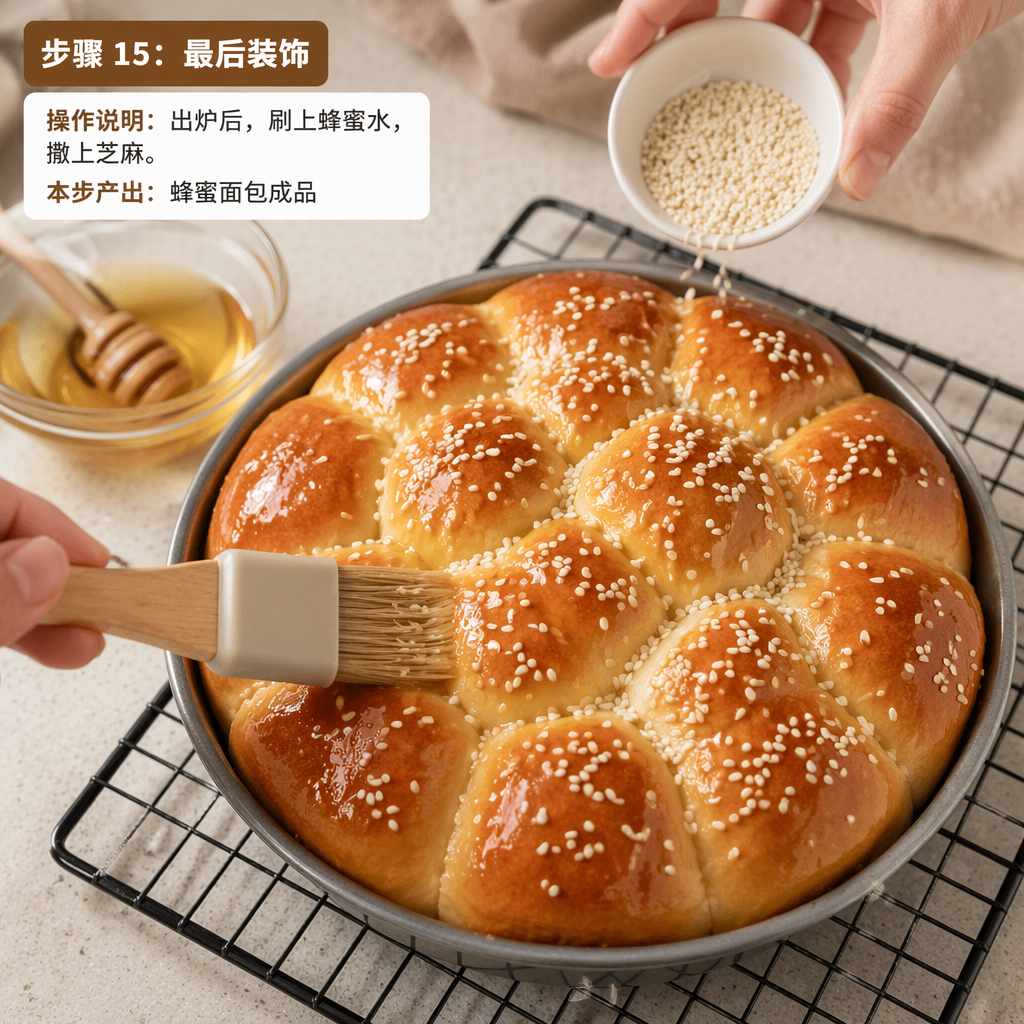
Final Decoration
最后装饰
After baking, brush with honey water and sprinkle with sesame seeds.
出炉后,刷上蜂蜜水,撒上芝麻。
2 min
- Brushing with honey water while hot helps it absorb better.趁热刷蜂蜜水吸收更好
Extra tips
- The proofing time is not fixed. Check every hour to confirm; the dough is ready when it has visibly risen. Aim for 2 to 2.5 times its original size.发面时间并不固定, 每 1 小时看一下确认就可以, 明显发酵变大即可, 建议发酵 2 - 2.5 倍大。
- The size of the dough will not significantly affect the texture or baking result; adjust to your preference.面团大小不会显著影响口感和烘烤效果,可根据喜好调整。
- The bread will harden in the refrigerator; heat in the microwave for 10-20 seconds to restore its softness.冰箱储存会变硬, 微波炉加热 10 - 20s 即可恢复松软。